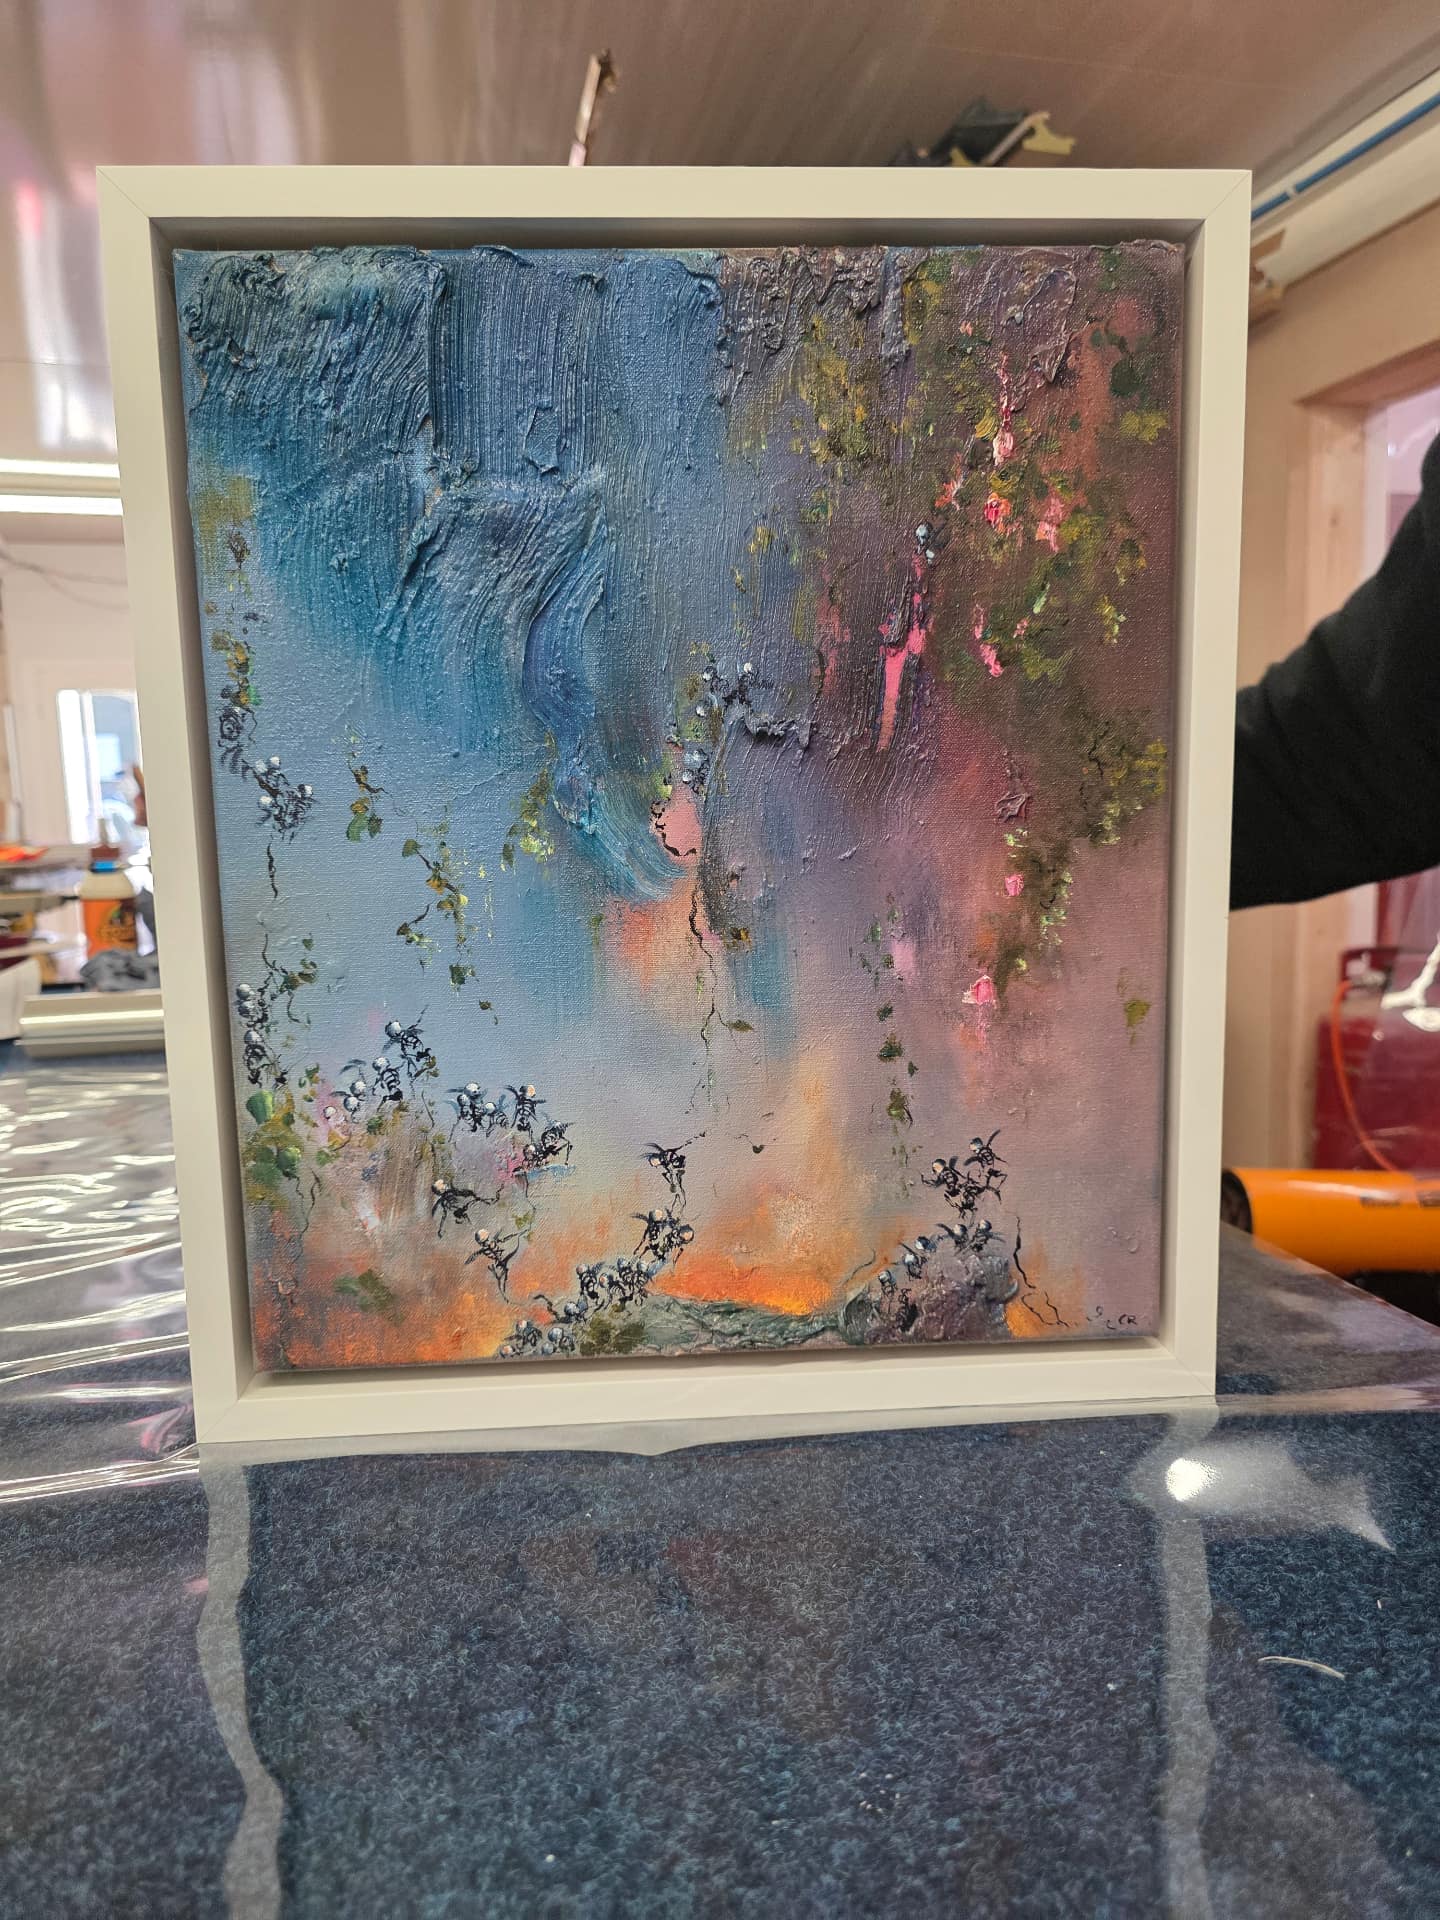
What canvas stretching involves and how it's done properly — squared kiln-dried bars, centre-out tensioning, corner keys — an honest look at DIY stretching, and the canvases that should never be stretched at all.
Stretching looks simple until you watch it done well: a canvas pulled taut over a timber frame and fixed so it stays drum-tight, square and flat — not just for the first month, but for decades. This guide explains how that’s actually achieved, where doing it yourself goes right and wrong, and — the part almost nobody writes down — when a canvas shouldn’t be stretched at all. It’s the same process behind every canvas that comes through our canvas stretching & mounting service.
What stretching is, and when you need it
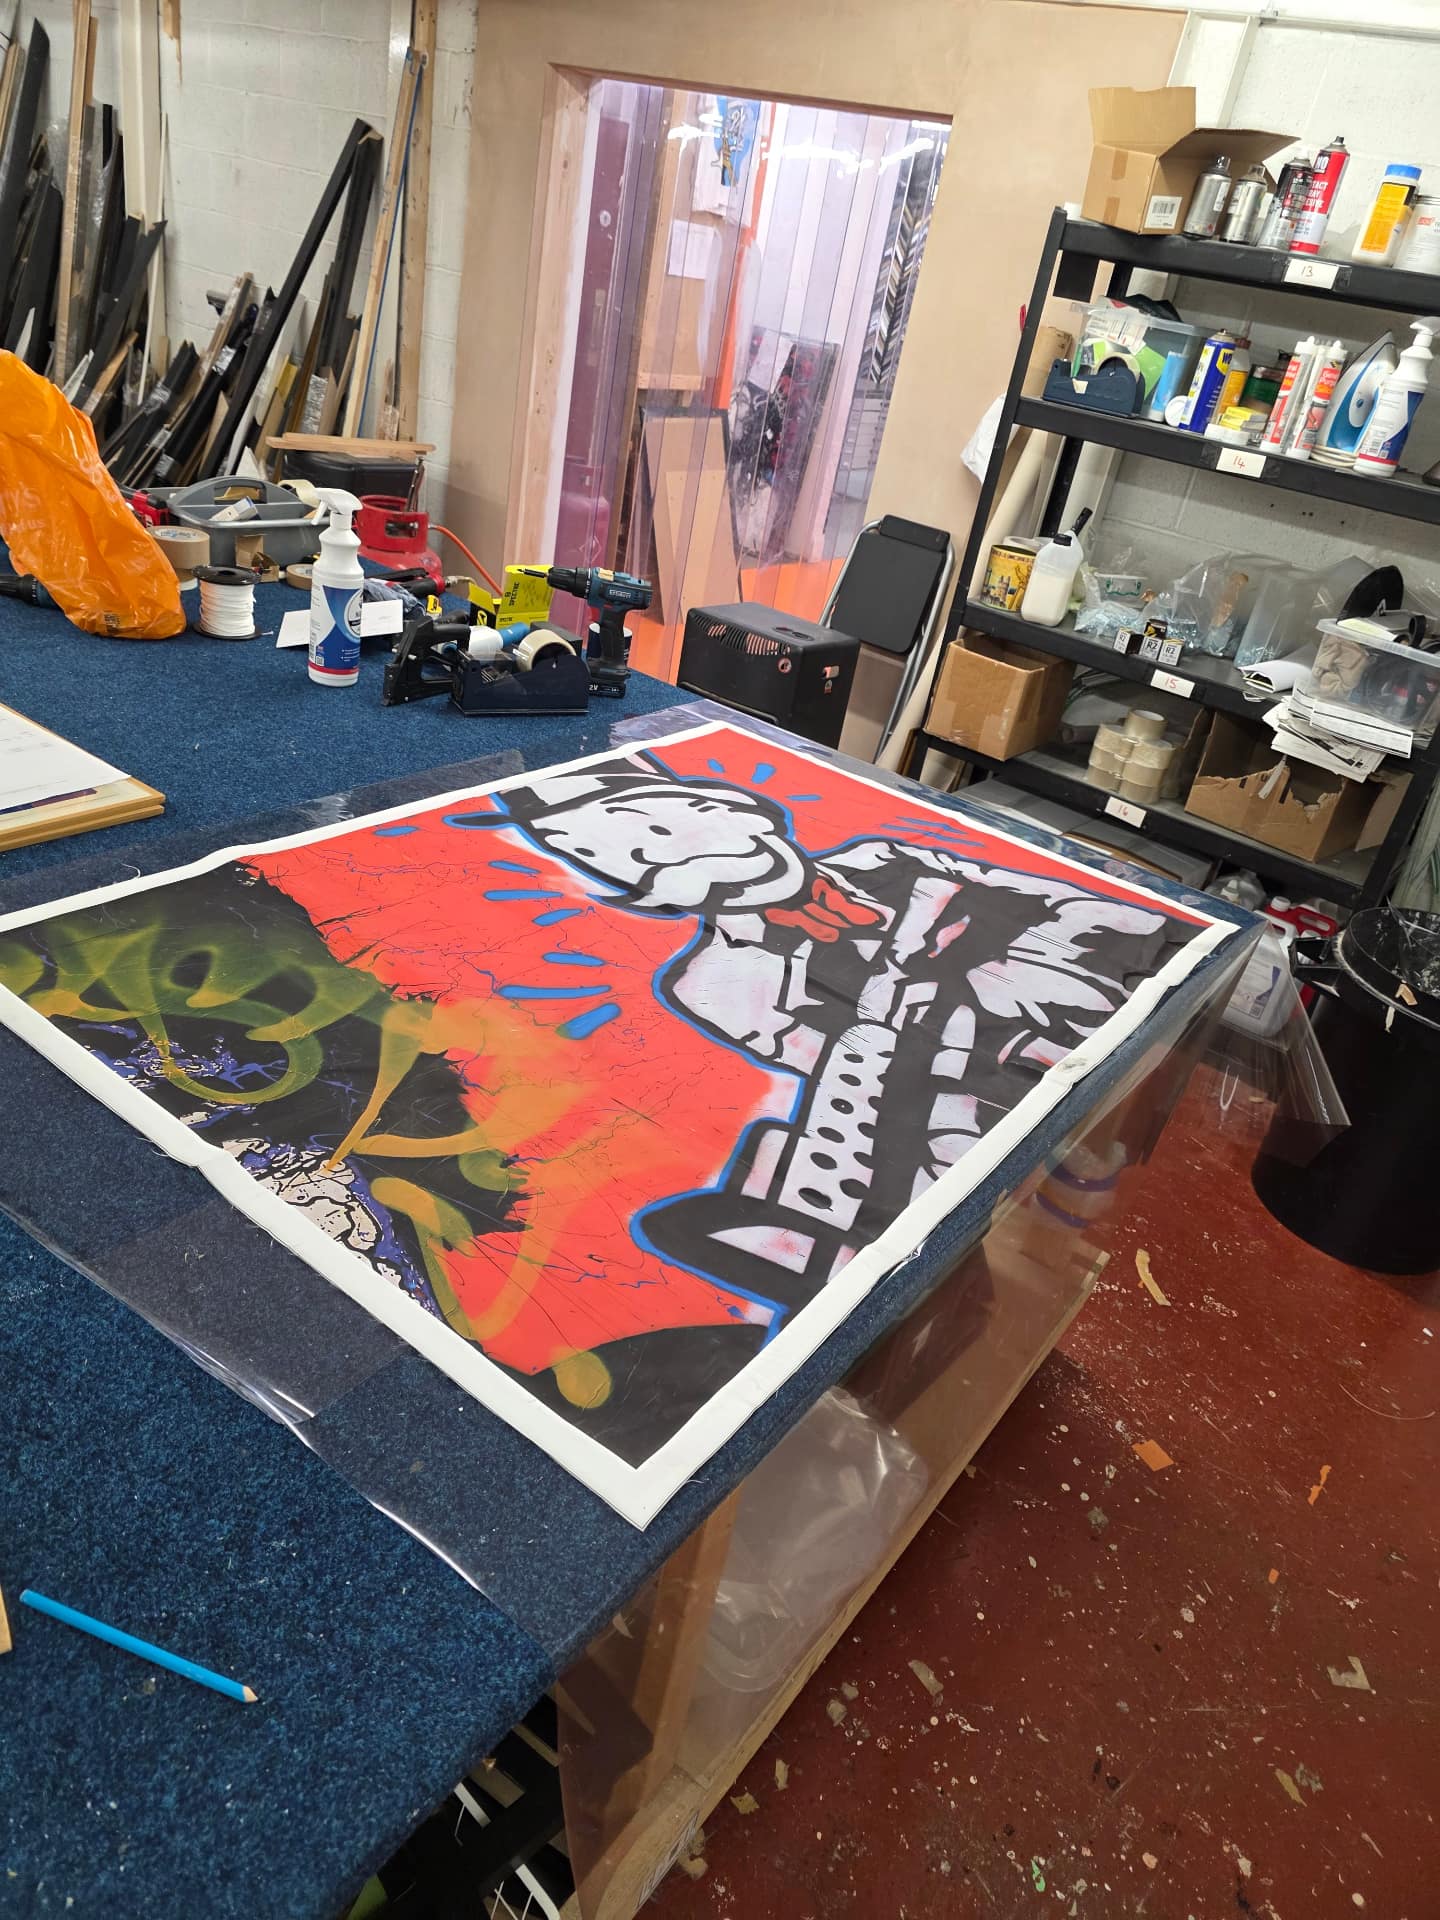
Three kinds of canvas arrive at the workshop needing bars. The most common is the rolled canvas — a painting bought on holiday and carried home in a tube, or a piece shipped rolled from an overseas gallery, because an unstretched canvas is far cheaper and safer to post than a stretched one. Second is the print sold unstretched: plenty of online sellers supply canvas prints as loose sheets and leave the stretching to you. Third is the canvas that has gone slack — an older piece with a visible belly, corner ripples or a wave along one edge, which needs re-tensioning on its existing bars or a fresh stretch on new ones.
In every case the job is the same: a frame that is square, straight and rigid, and even tension across the whole face. Get either half wrong and the canvas tells on you — slowly, from the wall.
How a professional stretch actually works
It starts with square bars. Once the stretcher frame is joined, it gets checked corner to corner: the two diagonals must measure the same, or the frame is racked — a parallelogram rather than a rectangle. Stretch a canvas over a racked frame and the canvas is racked too: the image runs subtly downhill against the edges and no tray frame will ever close around it neatly. The check takes a minute and gets skipped constantly.
The timber matters more than it looks. We build on kiln-dried solid pine, and the drying is the point: timber that still holds moisture keeps moving after it’s cut, bowing and twisting as the seasons change, and a bowed bar telegraphs straight through the face of the canvas as a ripple you’ll catch in raking light. Depth is a separate choice — a slimline 20mm Fine Edge, the classic 25mm Slim Edge gallery wrap or a chunky 38mm Deep Edge — and deeper bars are stiffer, which matters as canvases grow.
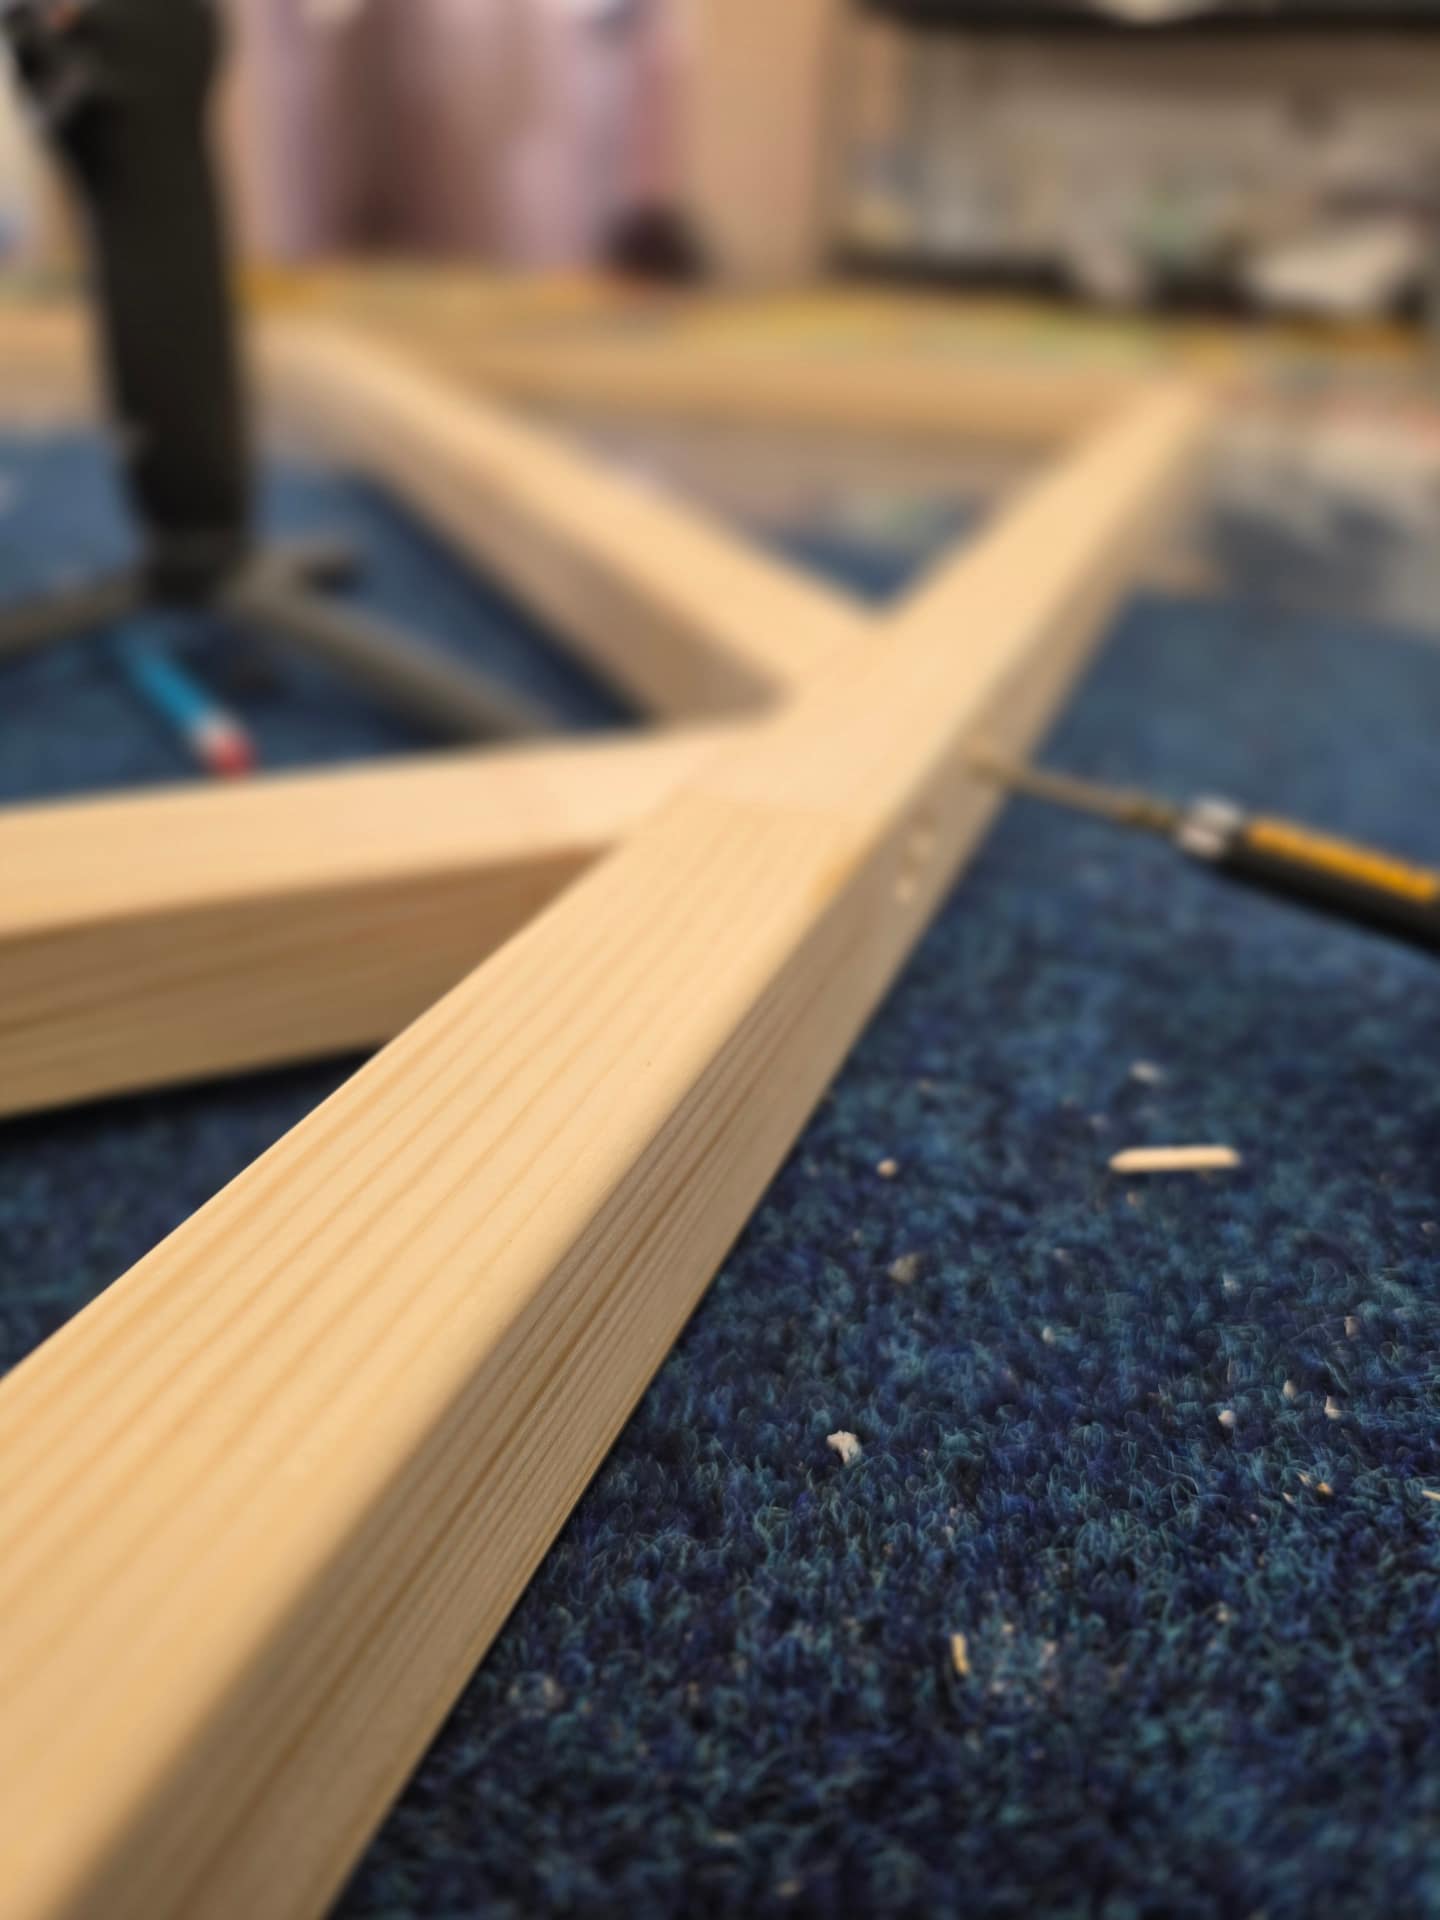
Larger spans get internal bracing. A long bar under canvas tension wants to bow inwards, and once it does the tension slackens unevenly across the face. On bigger works we fit cross braces and corner bracing inside the frame, so the pull of the canvas is resisted by structure rather than a single length of timber.
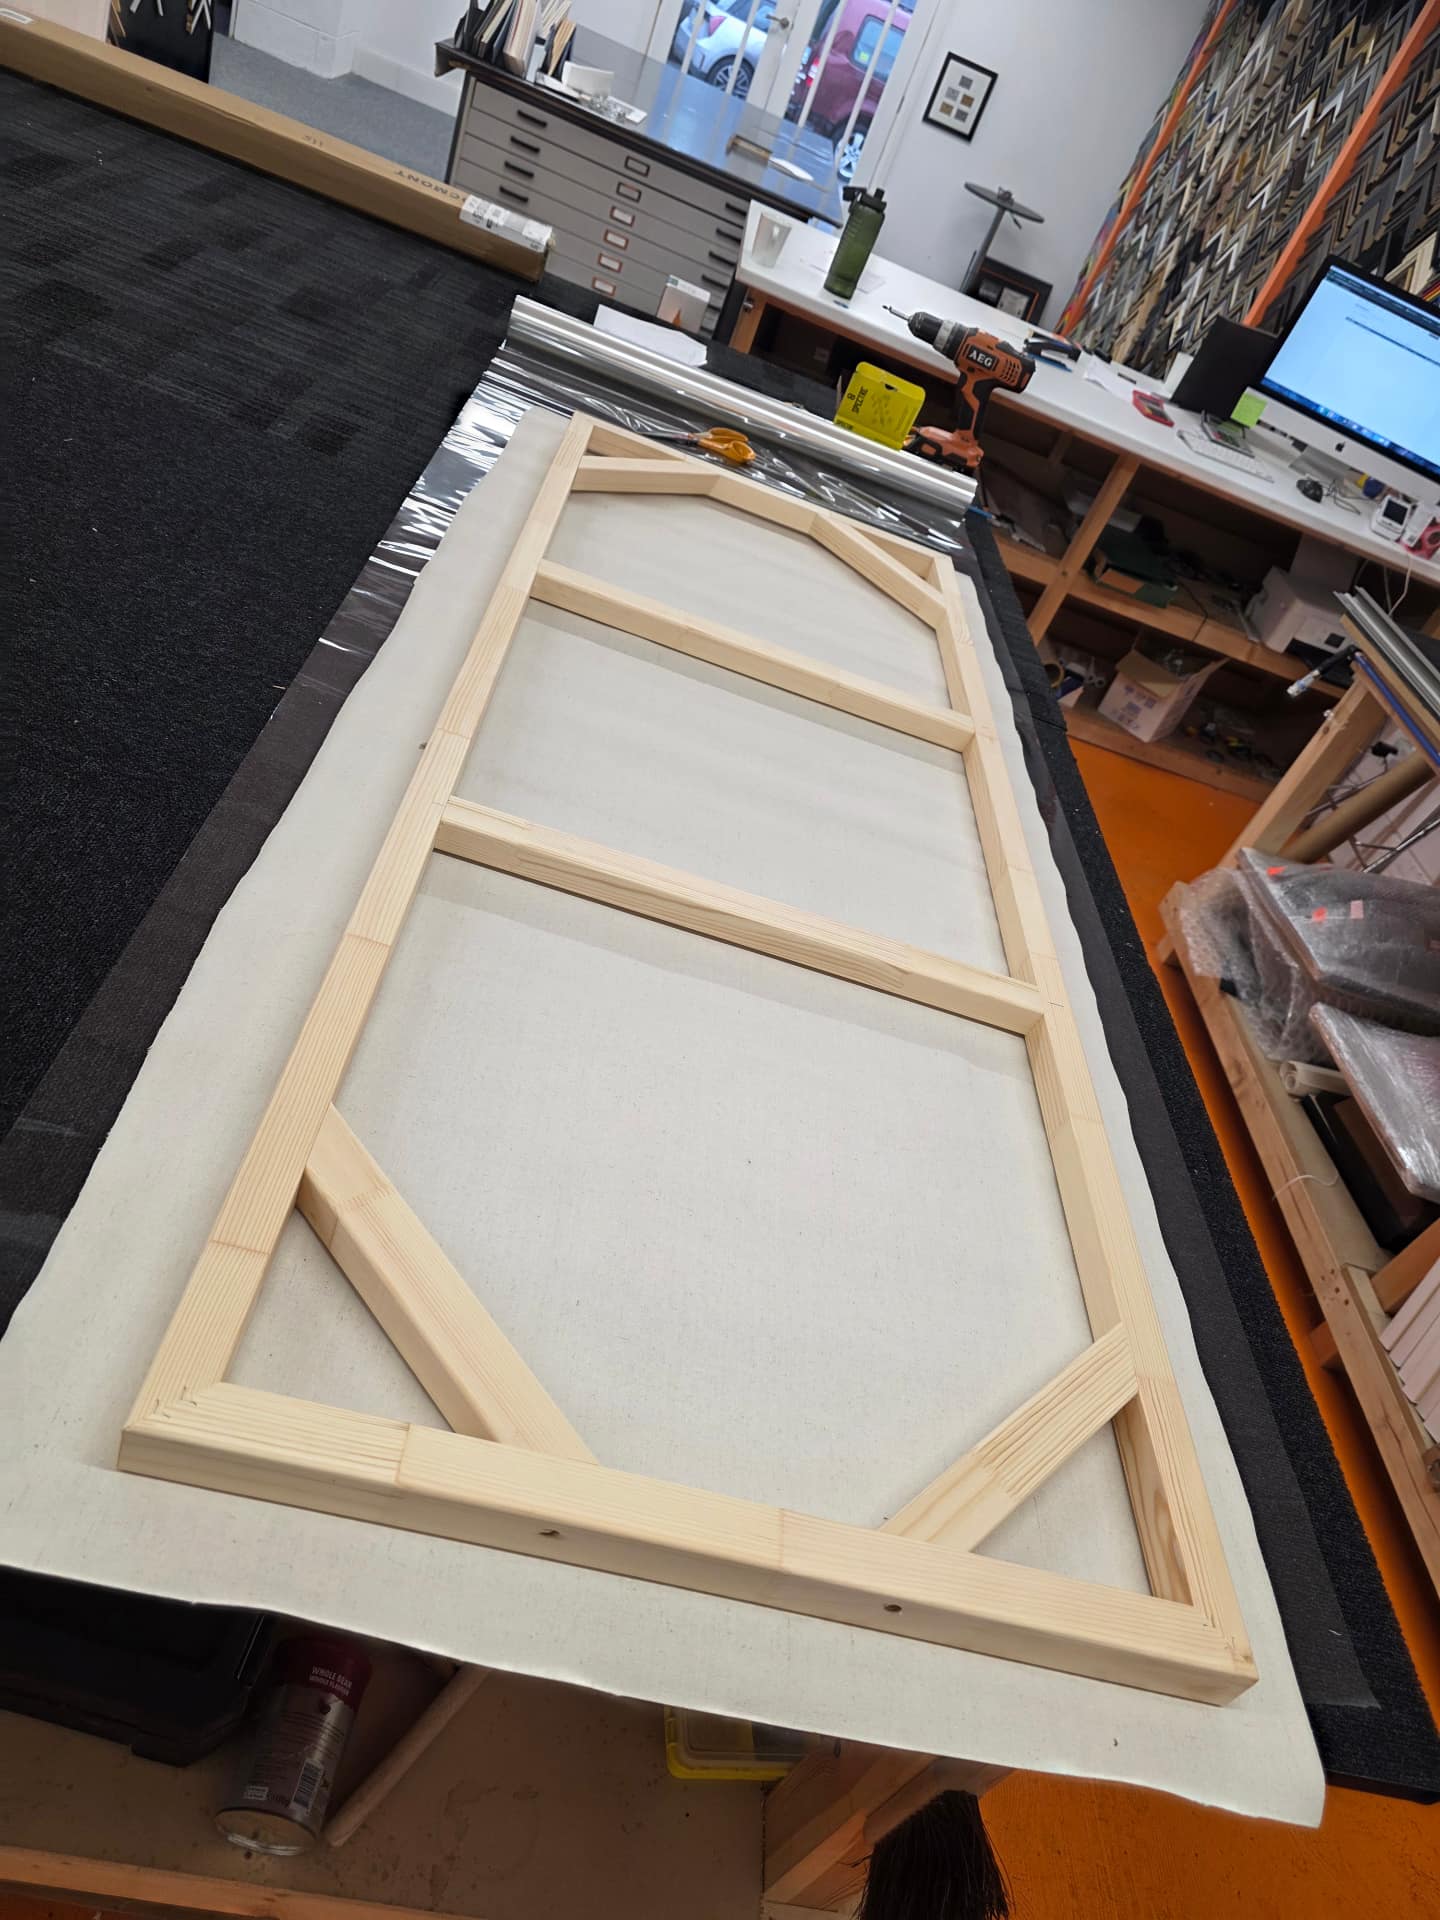
Tension goes on from the centre out. The canvas is fixed first at the centre of one long bar, then gripped with canvas pliers, pulled and fixed at the centre of the opposite bar, then the same across the two short sides. From there the fixings work outward towards the corners, always alternating between opposite sides, so tension radiates evenly from the middle of the canvas. That pattern is what prevents the two classic faults you see in rushed work: a scalloped edge, where the canvas dips between fixings, and a diagonal ripple pointing at one corner, where one side was finished before its opposite.
Corners are folded, not bunched. A good corner is a flat, tucked fold that sits square on the back of the bar — out of sight on a gallery wrap, unfussy in a frame, and easy to release if the canvas ever needs to come off. A bunched corner fights the frame and prints its bulk through the fabric.
The keys go in last. Slots inside each corner take small timber wedges — keys — and tapping them deeper spreads the joint fractionally, taking up slack without touching a single staple. Canvas is woven fibre and it responds to the seasons, so a stretch with no means of adjustment is finished the day it first goes slack. The keys are what make a good stretch a twenty-year job rather than a two-year one.
For a gallery wrap, the stretch is the finished piece. If you want a frame around it, our guide to how to frame a canvas painting picks up exactly where this one ends.
Stretching your own canvas: an honest look
Can you do it yourself? Genuinely, yes — stretching is a learnable skill, not a dark art. Canvas pliers and a staple gun are cheap, ready-made stretcher bars come in standard lengths, and an afternoon spent practising on an expendable canvas will teach you most of it. Plenty of artists stretch their own canvases, and we’d never talk a painter out of learning.
The failures that reach our bench follow four patterns. Under-tension looks fine on the day and sags into a visible belly within a month, because canvas relaxes after stretching and a tentative pull leaves nothing in reserve. Over-tension is the worse mistake on anything painted: dried paint is far less elastic than the fabric underneath it, and hauling it too hard over the bar cracks the paint in a line along the fold. Out-of-square bars are almost universal in DIY work, because slot-together corners rarely get checked with a diagonal before the stapling starts. And no allowance for re-tensioning — a canvas stapled tight to a frame with no keys — means the first slack season needs a full restretch instead of two taps of a hammer.
When a canvas should not be stretched at all
This is the section the tutorials skip, and it matters more than anything else here. Stretching bends the canvas sharply over the edge of a bar, and some canvases cannot take that fold.
- Brittle or aged paint. Oil paint keeps losing flexibility for decades after it dries. Pull an old canvas over a fresh bar edge and the paint can crack along the fold in one clean, permanent line — damage no framer can undo.
- Work painted to the very edge. A stretch needs spare canvas to travel over the bar and be gripped from the back. If the artist painted to the cut edge, stretching either wraps painted image around the sides or leaves nothing safe to hold. A conservator can add a lining strip to extend the margins — but that is a conservator’s call, not a framer’s.
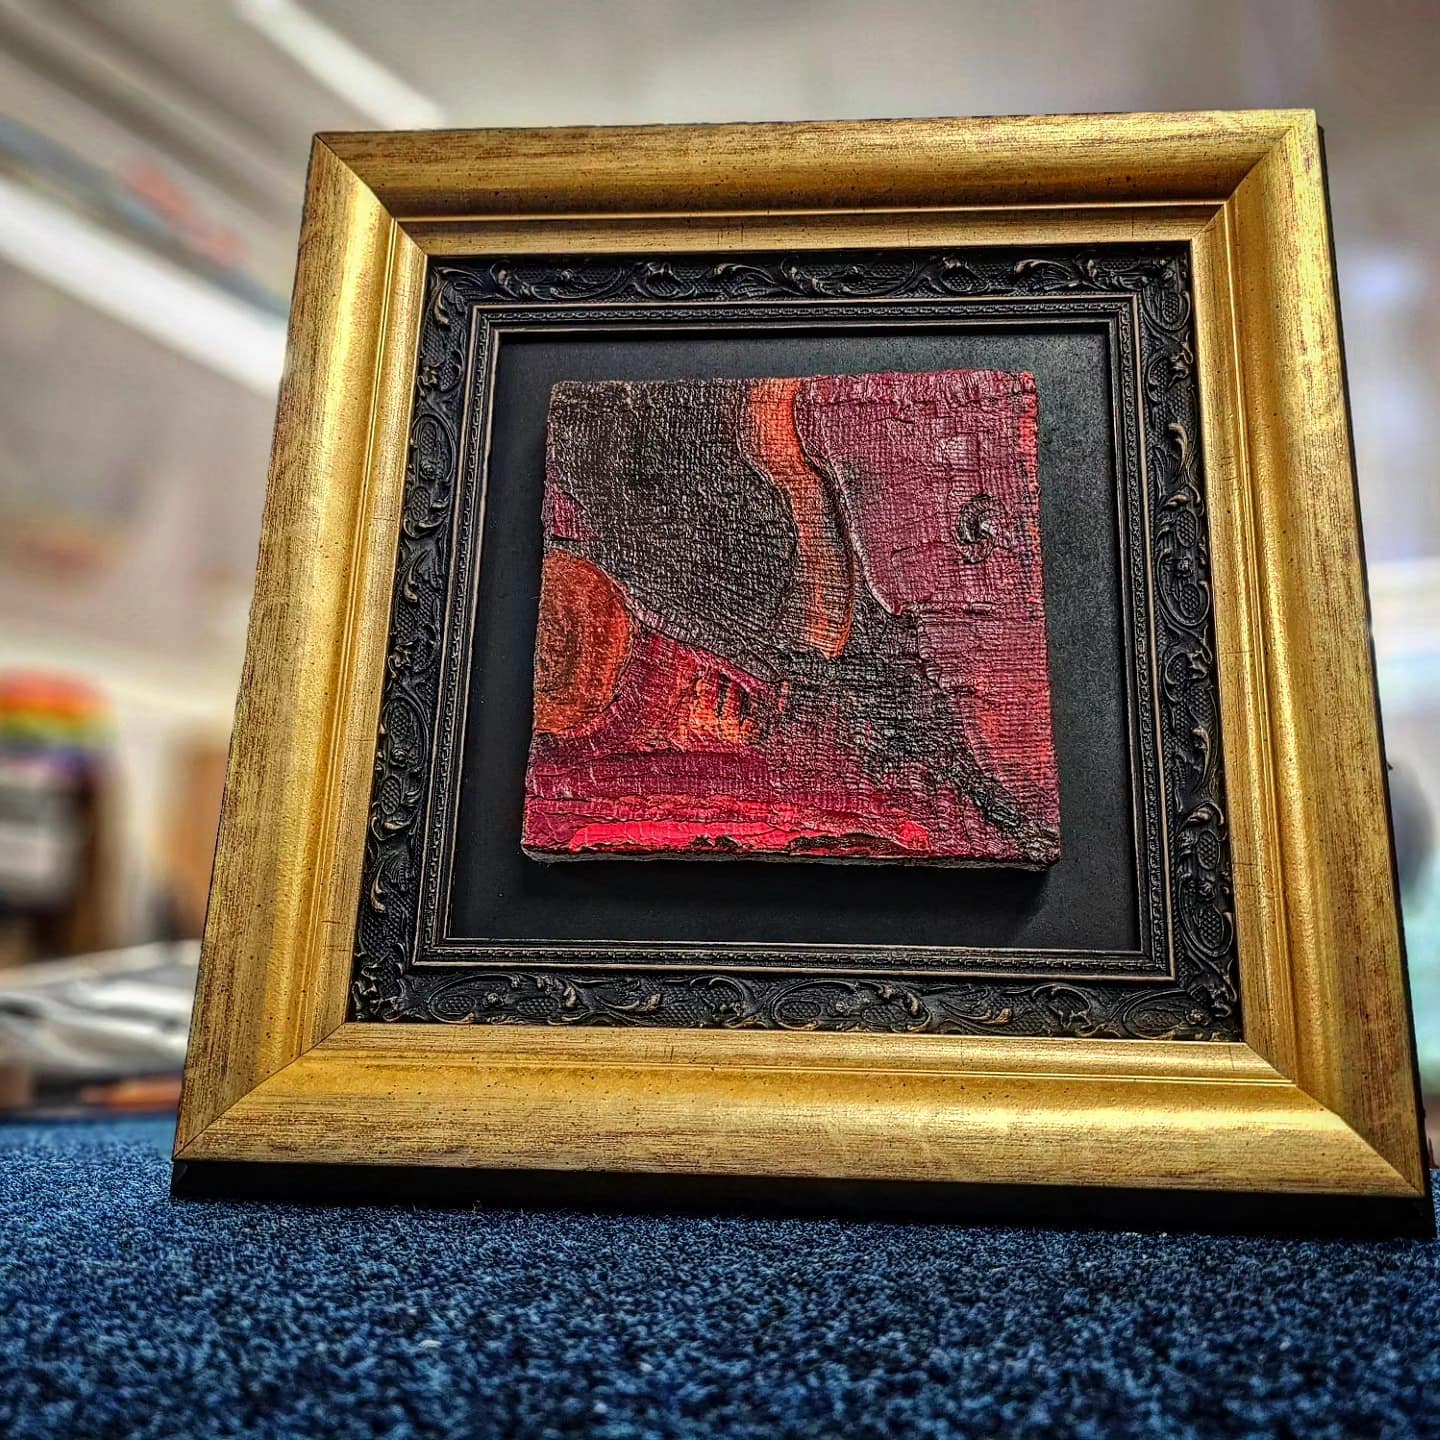
- Heavy impasto near the fold line. Thick, textured paint close to the edges cracks and flattens where the canvas turns the corner, and the damage lands precisely where the texture is boldest.
If any of that describes your canvas, pause and have it assessed before anyone reaches for the pliers. Sometimes the right answer is not to stretch at all but to float-mount the canvas unstretched — held flat on a board inside a deep frame, edges and texture on show, nothing folded anywhere. The materials behind that approach must be acid-free and fully reversible, and our guide to conservation picture framing explains exactly why.
When DIY is fine — and when it isn’t
Stretch it yourself when the canvas is replaceable. A blank you’re going to prime and paint is the perfect place to learn — a poor first attempt costs you a piece of fabric and an hour. An inexpensive printed canvas for a spare room is the same: worst case, you’ve bought a lesson.
Leave it to a professional when it isn’t. An original painting, anything with paint already on it, anything destined for sale — collectors turn work over and read the corners — and anything you couldn’t stand to lose. The rule of thumb is the one we give for everything: if you could buy it again tomorrow, DIY is fine; if you couldn’t, the stretch is worth doing properly, once.
And if you’d rather paint than build: we make blank artist canvases to order — 339gsm (10oz) cotton duck, universal primed, on the same kiln-dried bars — sized to the work in mind rather than the nearest standard.
Common questions
Can a slack canvas be tightened without a restretch? Often, yes. If the bars have keyed corners, tapping the keys in evens up modest slack in minutes. If the canvas was stapled to rigid bars with no keys, or the slackness is uneven — a belly in the middle but tight corners — it usually wants a proper restretch. We do both, and we’ll tell you which yours needs.
How much spare canvas does a stretch need? Enough to travel over the depth of the bar and give the pliers something to grip on the back — as a working rule, the bar depth plus a few centimetres on every side. Less than that and the stretch gets risky; none at all is the painted-to-the-edge problem covered above.
Do you stretch printed canvases as well as paintings? Yes — unstretched prints bought online are one of the most common jobs on the bench, and they go onto the same bars with the same tensioning. We also print our own canvas prints on a heavyweight cotton canvas, with mirrored, bordered or full wrap-around edges, stretched in-house as one job.
How long does it take, and what does it cost? Canvas work runs 2–3 weeks from the moment the canvas is with us. Pricing depends on size and bar depth, and the canvas stretching calculator gives an instant estimate. Bring the canvas to the workshop, or post it at your own risk in a sturdy tube by tracked, insured courier.
If you’ve a rolled canvas in a cupboard or a piece that’s gone slack on the wall, send us a photo with rough dimensions and we’ll tell you honestly whether it wants stretching, re-tensioning — or leaving exactly as it is.
Ready to start a project?